
After watching countless episodes of Ace of Cakes and Cake Boss, I wanted to try my hand at cake decorating. It was my friend Jin's birthday, so I decided that since I had some time, I could try it out. Since he's so into photography, buying new cameras every so often, I thought it would be fitting to put on his cake a replica of his favorite vintage film camera. Since this is my first attempt using fondant, I decided to play it safe and stick to a 2D rendition instead of the whole 3D shebang as I didn't want to completely butcher his birthday cake.
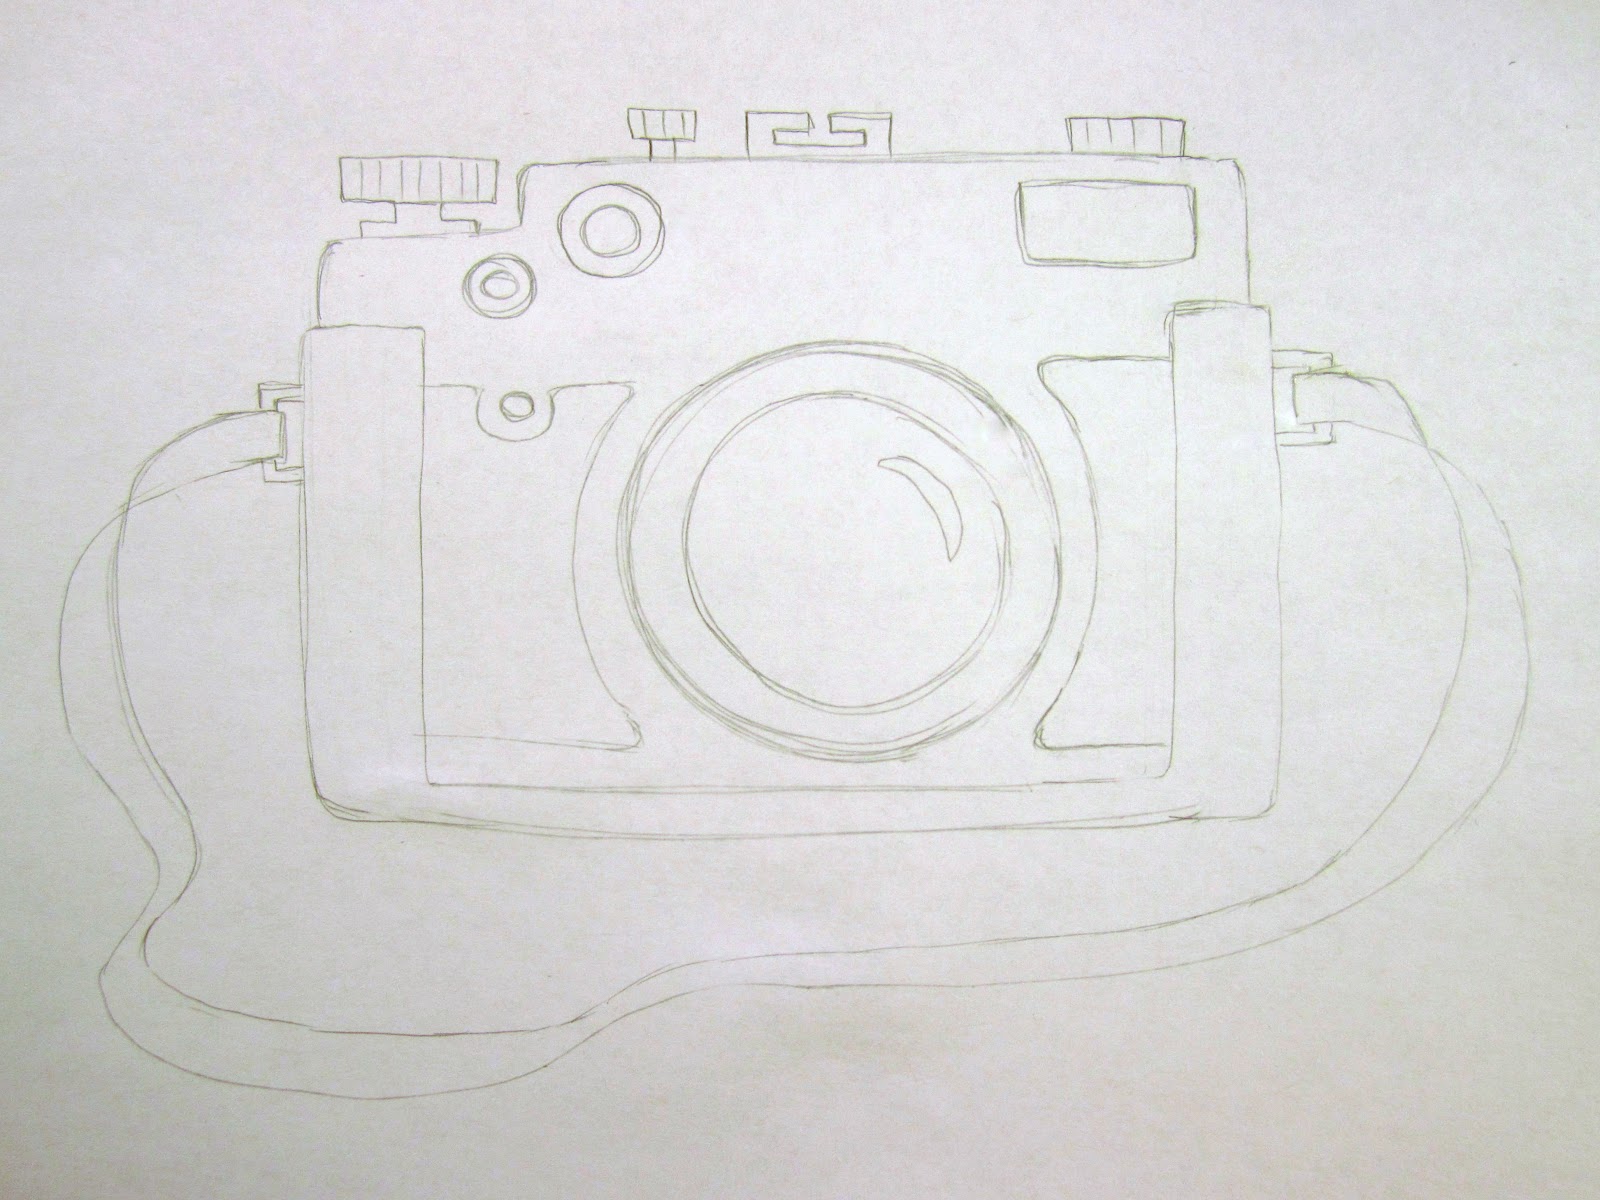
I first sketched out a picture of his camera on a piece of paper. Then I taped it underneath some wax paper so it would be easy to cut out the pieces.

Mixing the colors was definitely the most difficult (and tiring) part! To mix the colors, I would dip a toothpick into Wilton's icing color gels and scrape it onto the fondant. Then I would knead it until the color becomes uniform. I first started off mixing the red. I added a whole lot of red gel, but it just ended up turning bright pink! I then added a little bit of blue and brown and some more red to finally get the color that I wanted. Making the black was no easy task considering that my kit of colors did not have a black gel. Knowing that RGB makes black, I added red, green, and blue until it became a putrid green color, then a ghastly brown color, and then finally a nice dark black.

Ingredients and materials
1/4 cup butter
1 pack (16 oz) miniature marshmallows
4 tbsp water
1 tsp vanilla extract
4 cups (2 lbs) powdered sugar
Wilton's icing color gels
Toothpicks
Wax paper
Masking tape
Cutting board
Rolling pin
Directions
1. Melt the marshmallows in a pot over low heat. Stir continuously to prevent burning. Remove from heat.
2. Add in the water and vanilla to the hot marshmallows and stir until mixture becomes smooth. Slowly beat in the powdered sugar, one cup at a time, until you have a stiff and sticky dough.
3. Slather your hands with a generous amount of butter. Move the dough onto a cutting board dusted with powdered sugar and continue to knead for 5-10 minutes until the fondant is pliable and no longer sticky.
4. Form the fondant into a ball, wrap it tightly in plastic wrap, and refrigerate for at least 2 hours. Fondant can be stored for weeks.
5. To mix the colors, remove the fondant from the refrigerator and allow it to come to room temperature. Slather your hands with butter and add Wilton's icing gel color to the fondant using a toothpick. Continue to knead and add more gel until you reach your desired color.
6. Roll your fondant out on a flat surface dusted with powdered sugar.


As you may be able to tell, there are bumps and folds in the white fondant that I wasn't able to smooth out. I ended up adding red strips of fondant to the sides to try to cover the imperfections. I decided last minute to add the letters and since I didn't plan accordingly, some of the words had to spill over to the side. But despite my mistakes, I would say that my first attempt using marshmallow fondant to decorate a cake was a success (almost)!

No comments:
Post a Comment